

Adding your own logo and colours makes the app and your documents carry your brand instead of ours, and it only takes a minute to set up.
How to Add Personal Branding to Your MarketRent Account
1. Open Settings from the Dashboard
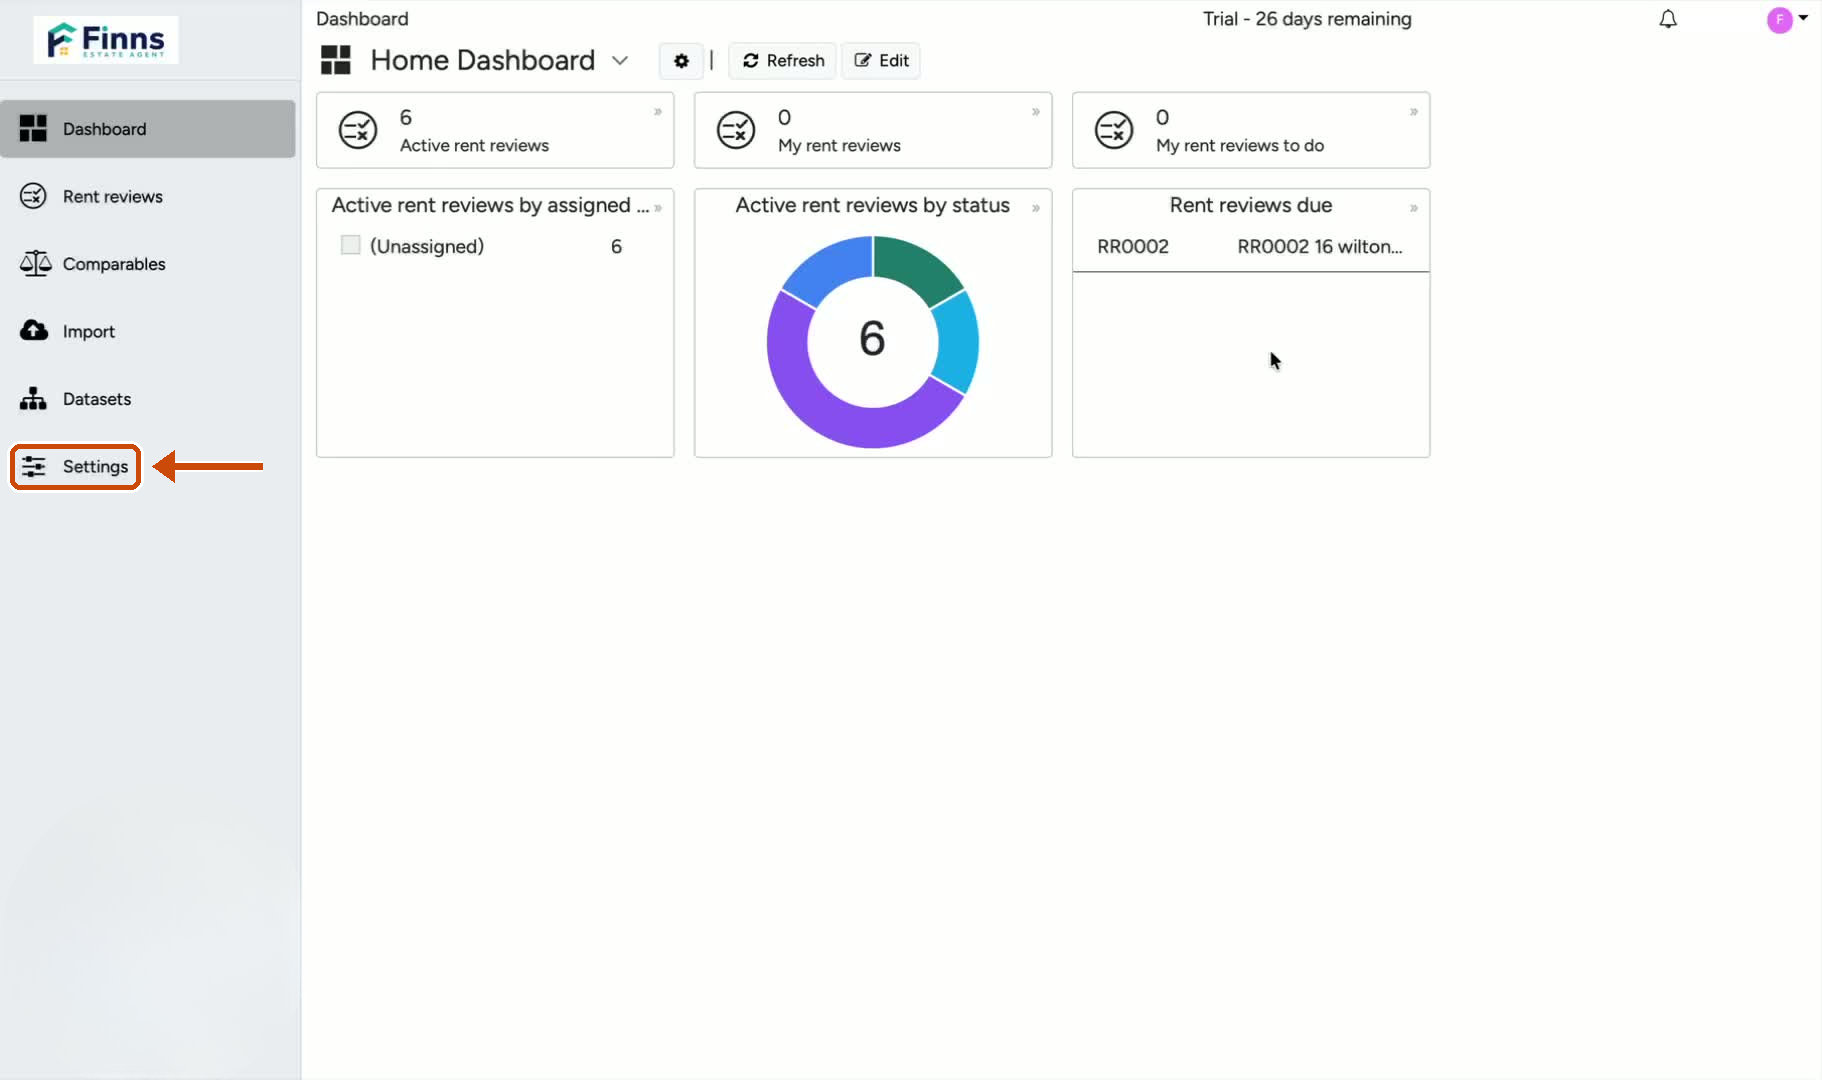
Start on the MarketRent dashboard.
In the left-hand sidebar, scroll down and click Settings.
This is the main area where account customisation options are located.
2. Go to the Brand Section
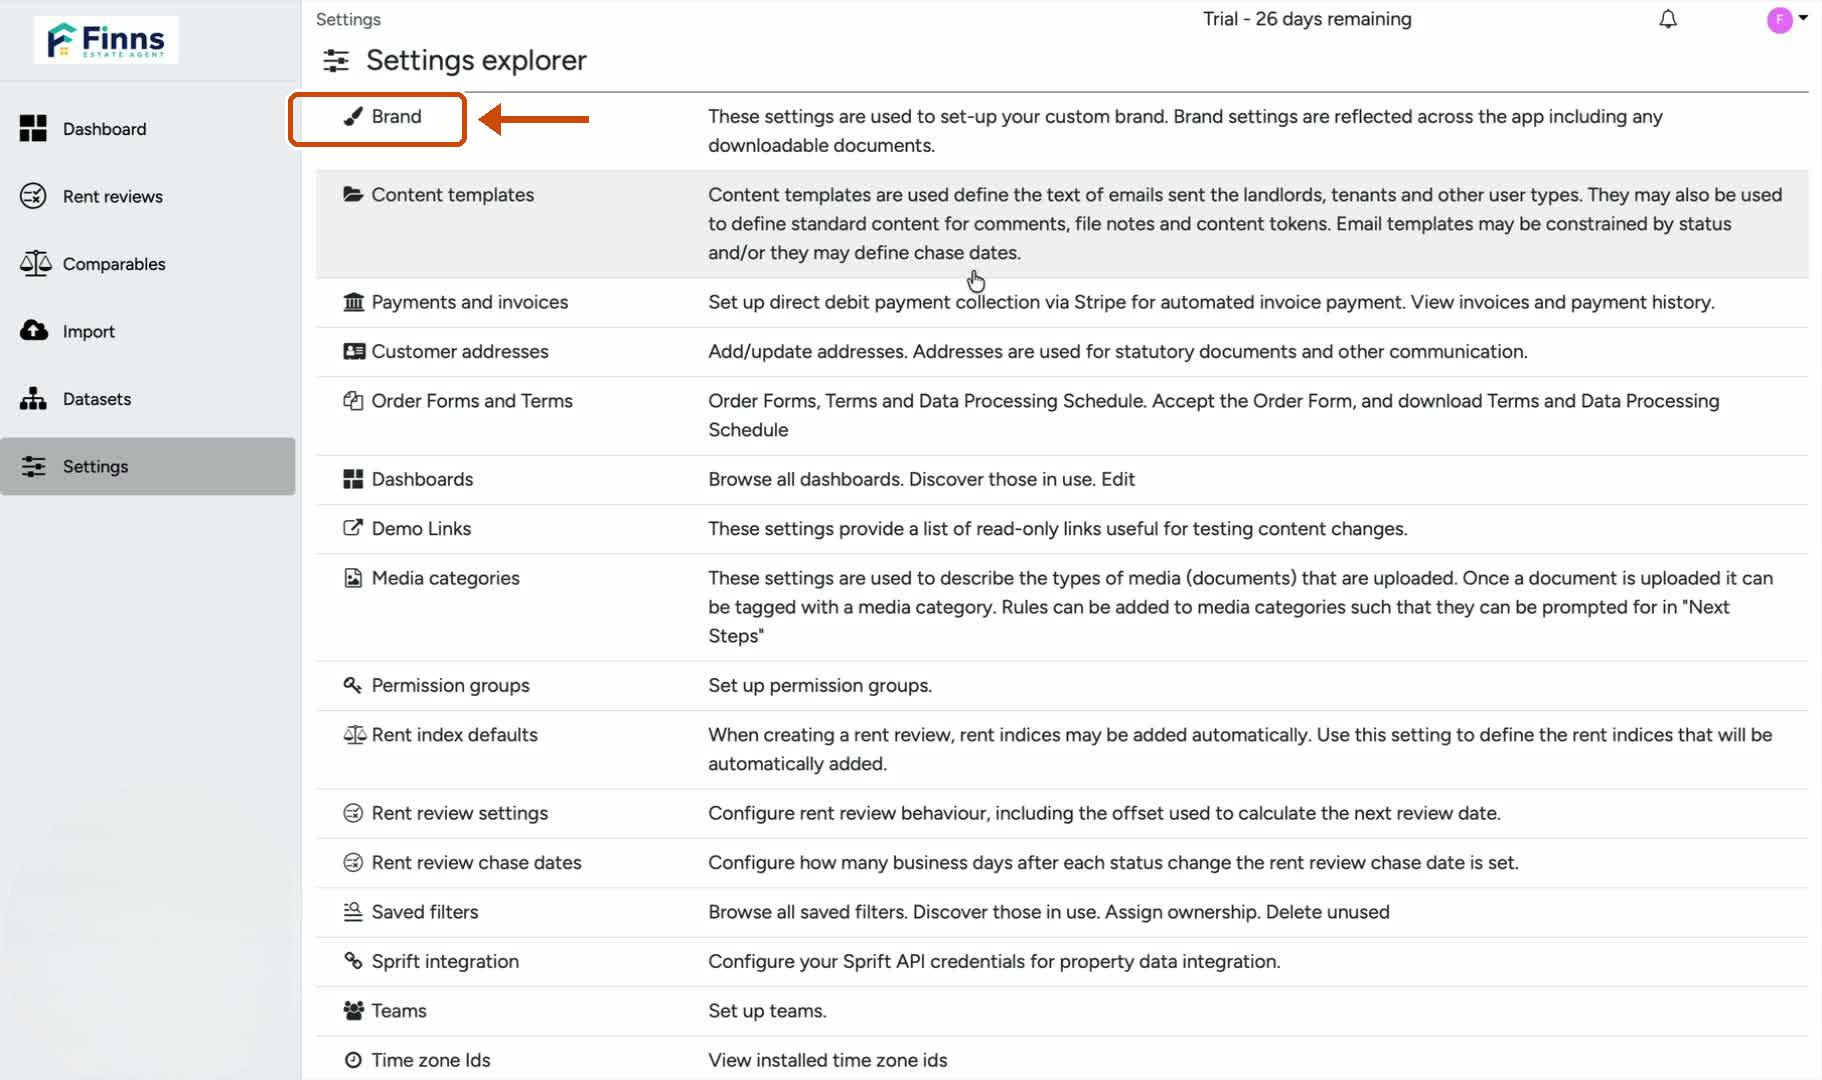
In the Settings menu, click the top option labelled Brand.
This section contains all branding-related settings for your account.
You’ll see options for:
- Main logo
- Square logo
- Brand colours
3. Upload Your Main Logo and Square Logo
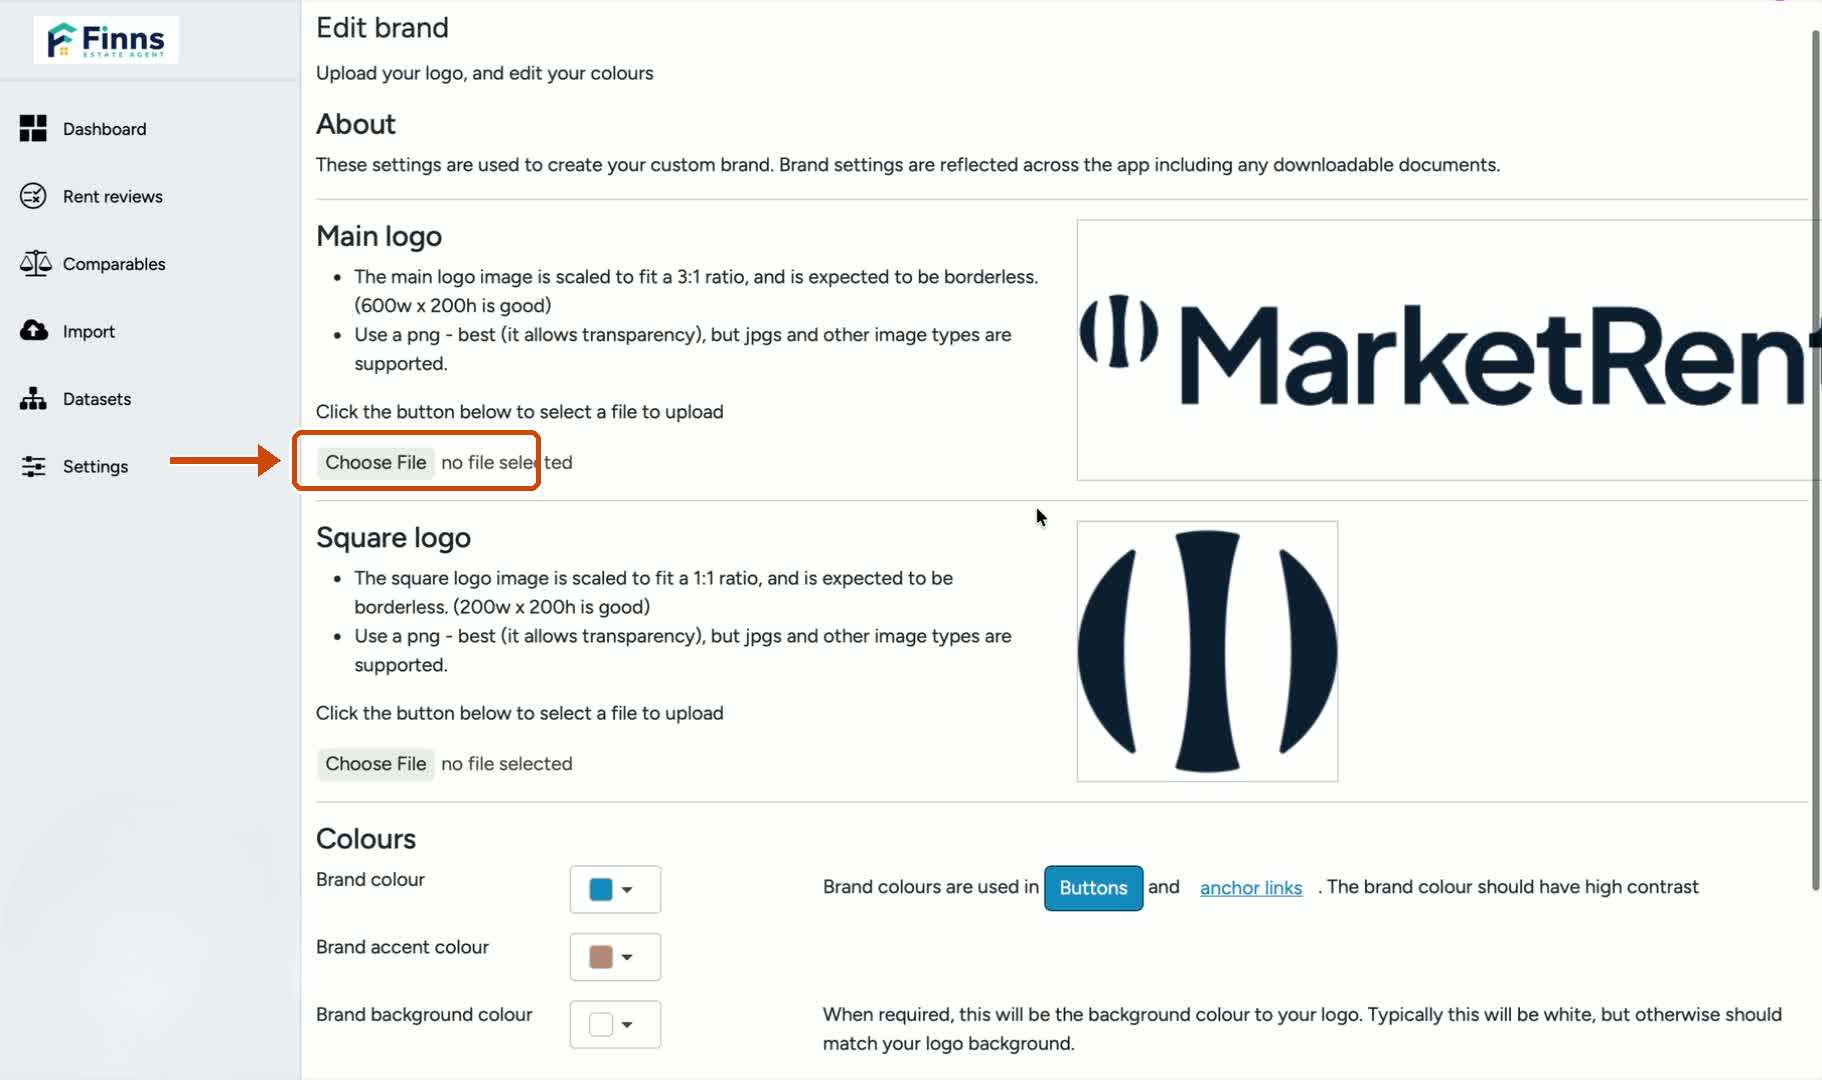
By default, MarketRent logos will be shown.
To replace them with your own branding, click Choose File under the Main logo section.
Select the logo file that matches the recommended size, then click Upload.
Repeat the same process for your square logo.
Make sure each logo is uploaded in the correct format for its intended placement.
4. Adjust Your Brand Colours
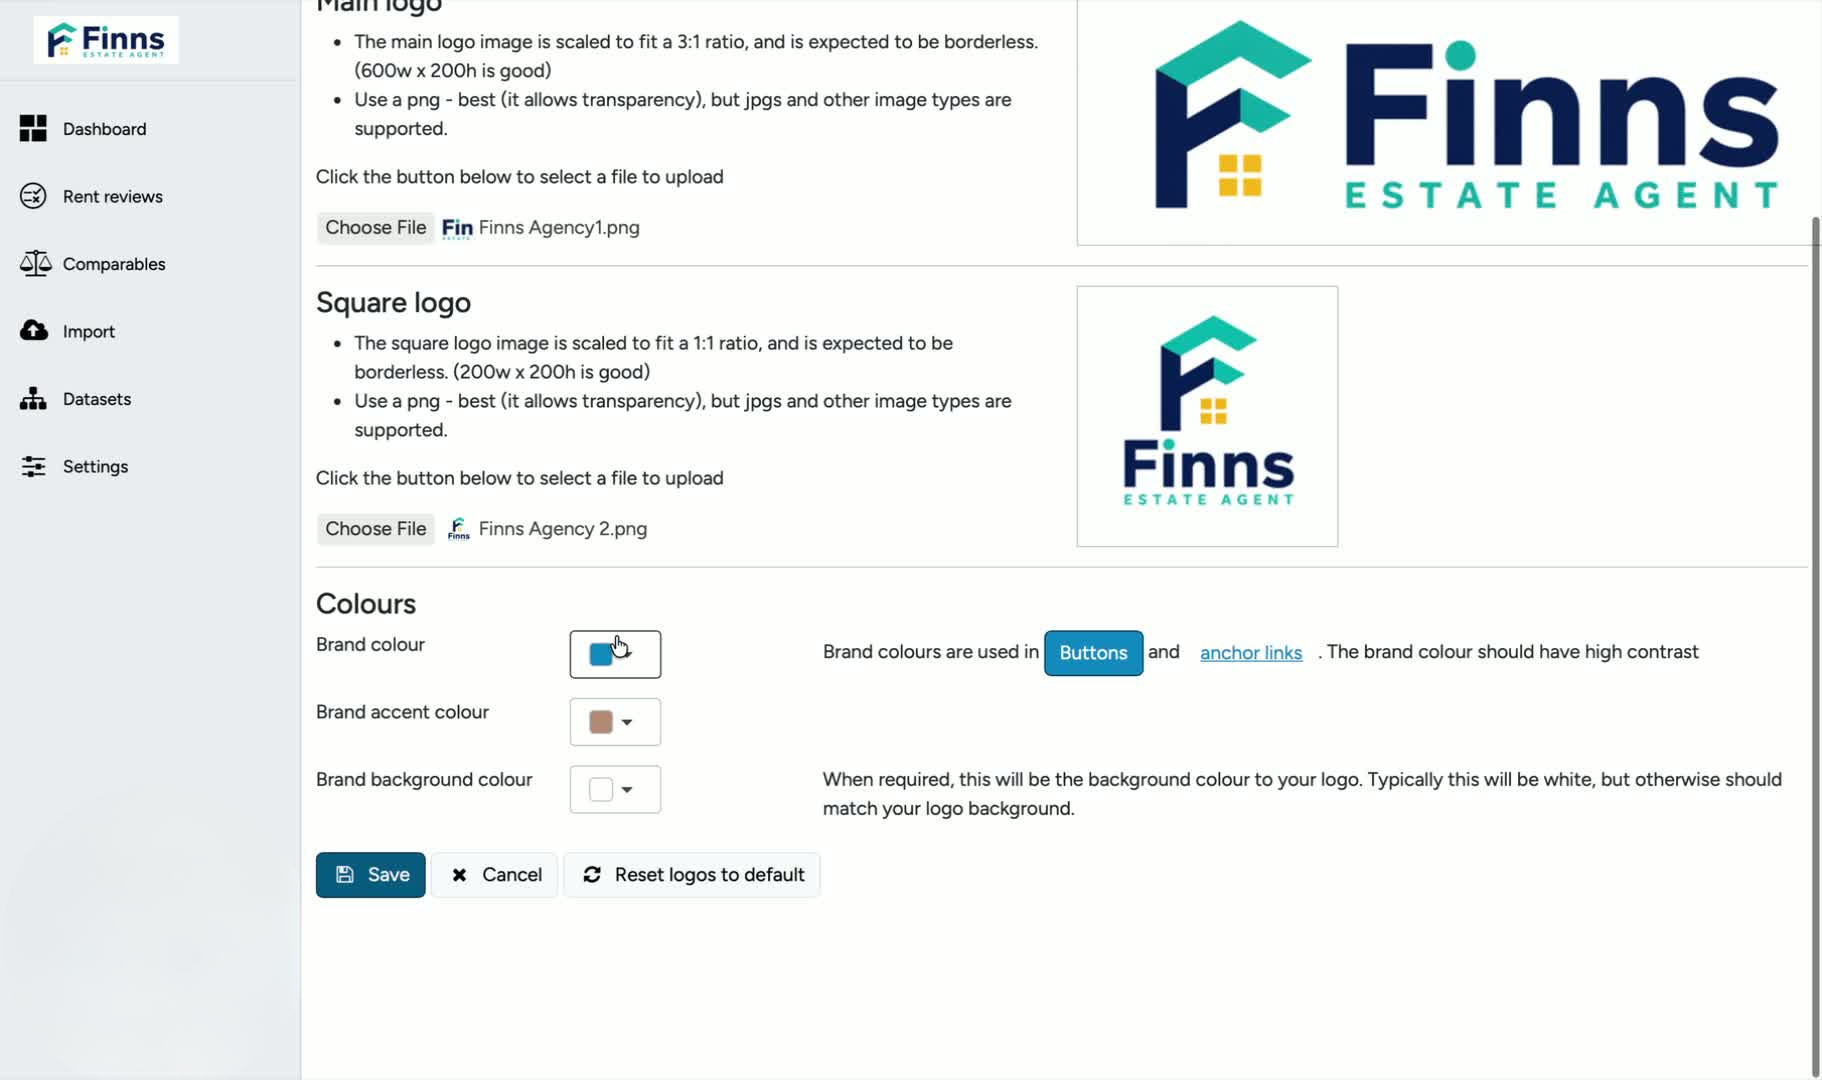
If you want to keep the default colours, you can leave them as they are.
To change them, use the colour picker to select a new brand colour.
If your company already uses specific brand colours, enter the hex codes directly into the colour fields.
This helps keep your MarketRent account consistent with your existing brand identity.
5. Save Your Branding Changes
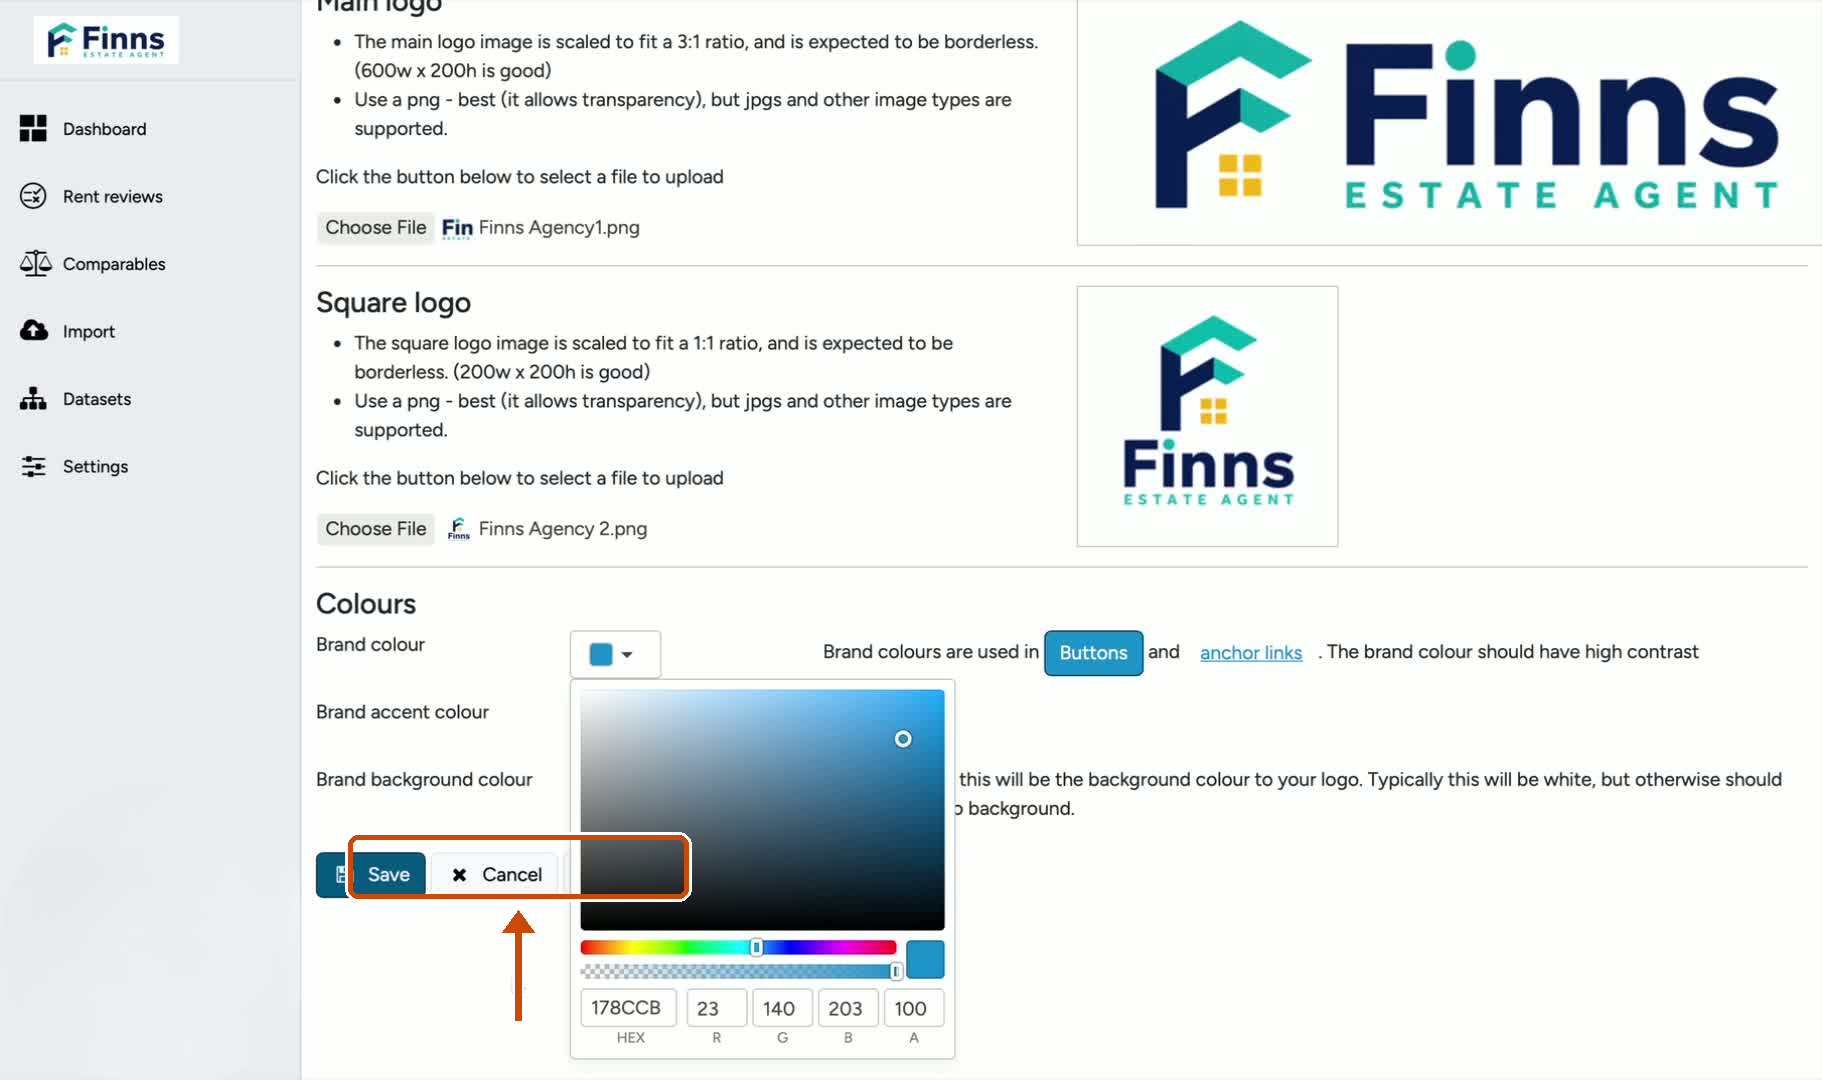
Once you’re happy with the logos and colours, click Save.
Your branding updates will be applied to your MarketRent account.
After saving, your account should reflect your custom branding settings.
Still have a question, or some feedback?
Email us at: hello@marketrent.co.uk.
